Install
Note
Go to Kit Assembly to find out how to put together your Helios4 NAS
What you need before you start.
1. microSD Card
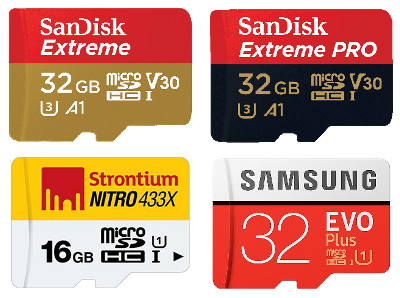
You need a microSD Card UHS-I with a minimum of 8GB. We recommend the following models:
- SanDisk Extreme microSDHC UHS-I Card (32GB)
- SanDisk Extreme PRO microSDHC UHS-I Card (32GB)
- Strontium Nitro MicroSD Card (16GB)
- Samsung microSDHC UHS-I Card EVO Plus (32GB)
You might refer to the SD Card page to find a compatibility list of SD Card models.
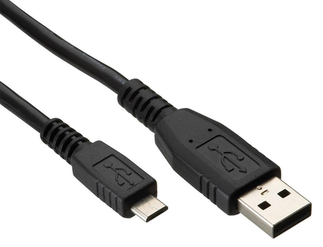
2. Micro-USB to USB cable
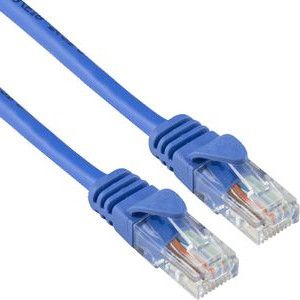
3. Ethernet cable (cat5/6)
Step 1 - Download an Helios4 image build
You will need first to download a image build to write on the microSD Card.
Go to Dowload and chose one of the latest build.
Step 2 - Writing an image to a microSD Card
You will need to use an image writing tool to install on your microSD Card the image build you have downloaded.
Under Windows, Mac OS or Linux (via Graphic Interface)
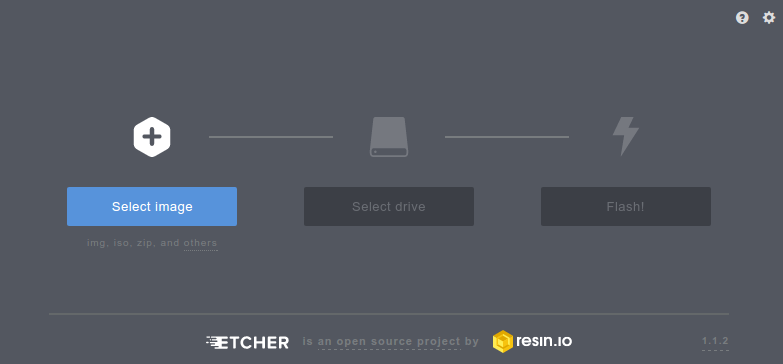
Etcher is a graphical SD card writing tool that works on Mac OS, Linux and Windows, and is the easiest option for most users. Etcher also supports writing images directly from XZ files, without any prerequired decompression. To write your image with Etcher:
- Download Etcher and install it on your computer.
- Insert the microSD Card inside your SD card reader (microSD to SD adapter might be needed).
- Open Etcher and select from your local storage the Helios4 file you wish to write to the microSD Card.
- Select the microSD Card you wish to write your image to.
- Review your selections and click 'Flash!' to begin writing data to the microSD Card.
Under Linux (via Terminal)
zcat Armbian_20.05.2_Helios4_buster_current_5.4.43.img.gz | pv | dd of=/dev/mmcblkX bs=1M
Replace the filename by the image file name you downloaded.
Note
/dev/mmcblkX is where the microSD is mapped in your Linux machine, change the 'X' to your corresponding mapped device. If you set /dev/mmcblkX to a wrong device then you might risk erasing a different device than the designated microSD.
Step 3 - Power-up Helios4
Before powering-up insure :
-
You inserted the microSD Card that you prepared in the previous step.
-
You connected your computer to the serial port with the Micro-USB to USB cable.
-
You connected Helios4 to your home network with the Ethernet cable.
-
You plugged-in properly the DC power connector before powering-up the AC adapter.
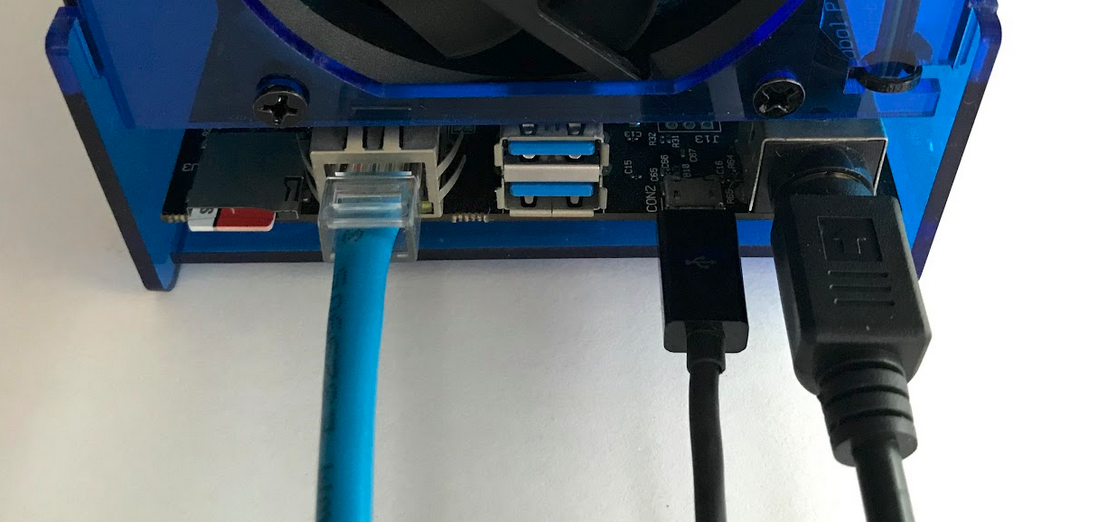
Now you can plug-in / power-up the AC adapter.
Warning
Always proceed with caution when manipulating 110/220V appliance.
Step 4 - Connect to Helios4 serial console
Important
For Windows and Mac OS you will need to install the FTDI driver in order to access the USB to serial bridge used by Helios4. You can find the driver here.
Under Windows
-
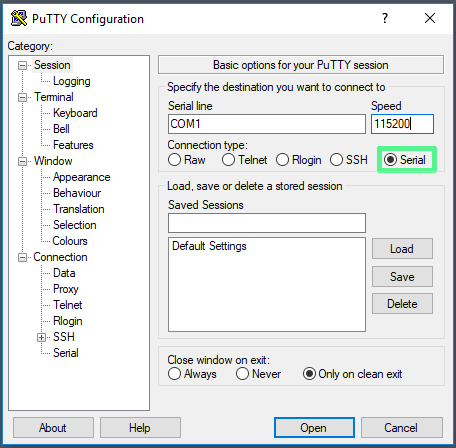
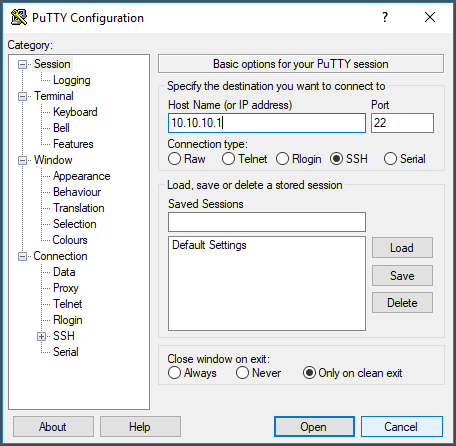
Download PuTTY and install it on your computer.
-
Select connection type serial.
-
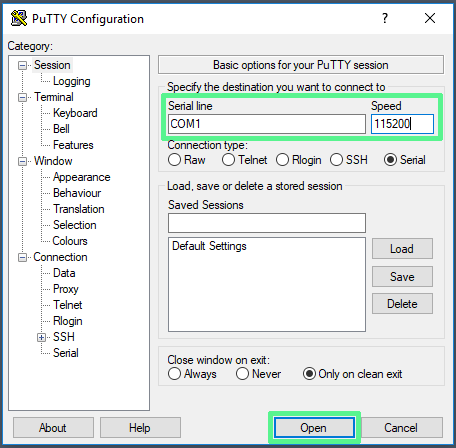
Setup serial port settings (Serial line : COM1 and Speed : 115200), then press 'Open'
Note
If you computer already has a serial port then COM1 might not be the correct serial line to connect to Helios4. Check this link to learn how to determine the right COM port.
Under Linux (via Terminal)
1. Install picocom
Use apt-get under Debian/Ubuntu
$ sudo apt-get install picocom
Use yum under RHEL / CentOS / Fedora Linux
$ sudo yum install picocom
2. Connect to serial with picocom
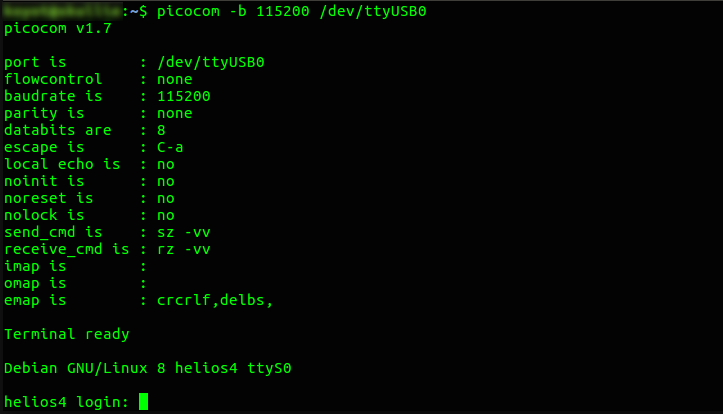
$ sudo picocom -b 115200 /dev/ttyUSB0
To exit picocom do Ctrl-a then Ctrl-x
Note
Using command _ls -la /dev/ttyUSB_ you should be able the find the USB to serial bridge device used by Helios4. Under Linux the device will be named /dev/ttyUSBx, where x* is a digit.
Under Mac OS (via Terminal)
Connect serial using the screen command
$ screen /dev/tty.usbserial-XXXXXXXX 115200 -L
To exit the session do Ctrl-a then Ctrl-k
Note
Using command _ls -la /dev/tty.usb_ you should be able the find the USB to serial bridge device used by Helios4. Under Mac OS the device will be named /dev/tty.usbserial-xxxxxxxx, where xxxxxxxx* is some serial number.
Step 5 - Log in
Note
You might need to press Enter for the login prompt to come up.
Default credential for Debian image
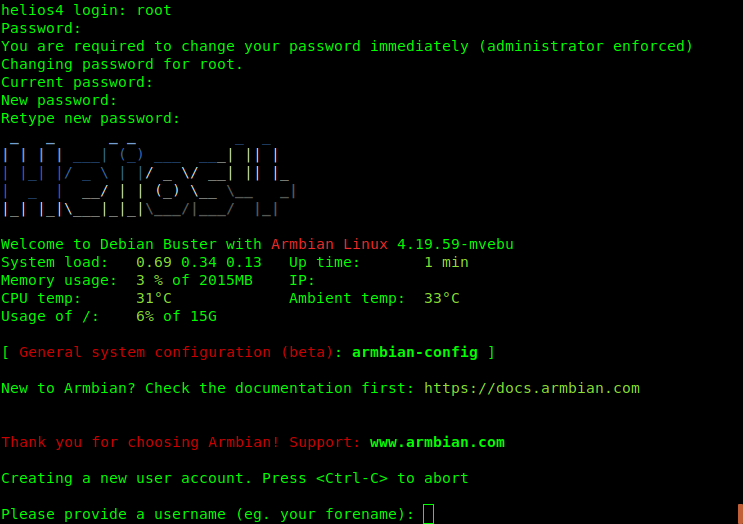
helios4 login: root
Password: 1234
You will be prompted to change the root password and then create a new user account.
Step 6 - Check/Set IP address
Check IP address
By default Helios4 will try to obtain an IP address via DHCP. To figure out what is the allocated IP address you will need to type the following command in the console.
ip addr show dev eth0

Here the IP address of Helios4 is 10.10.10.1.
Set IP address
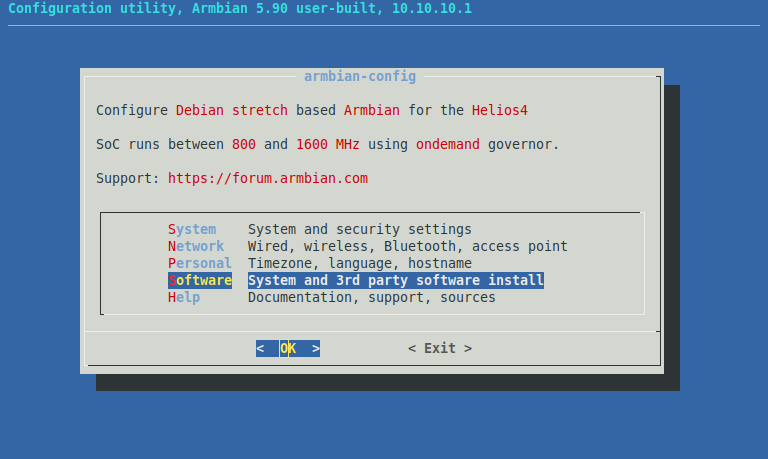
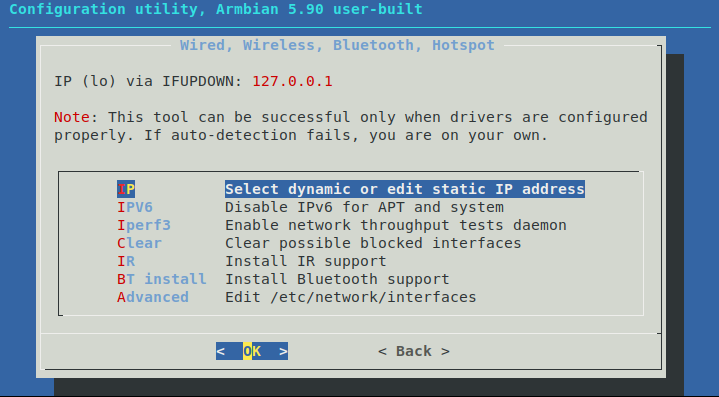
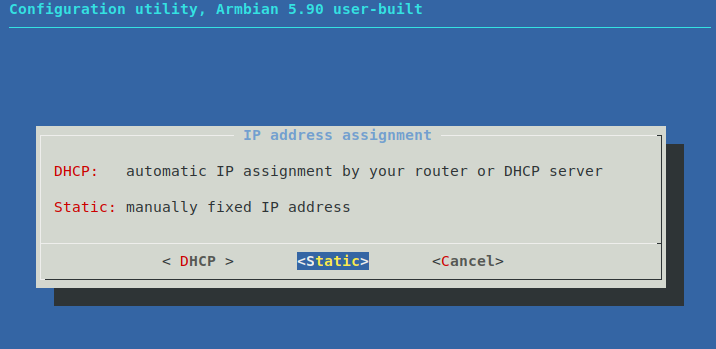
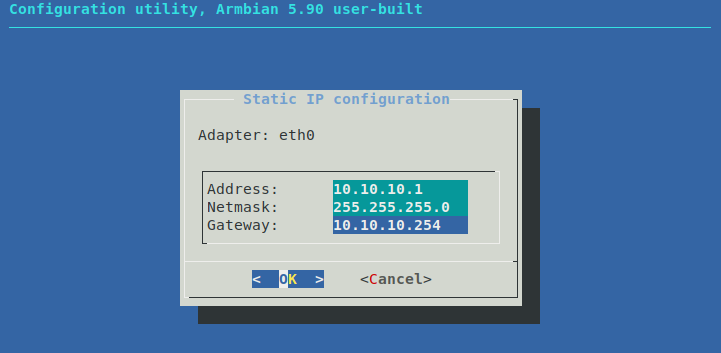
If you wish to manually configure your IP address you can use the armbian-config tool.
armbian-config
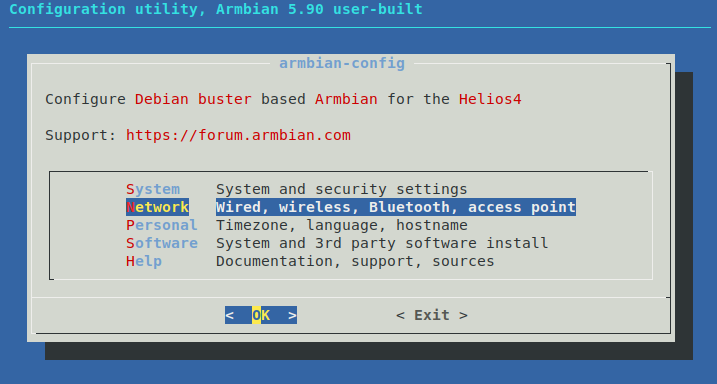
Press ESC till you exit armbian-config tool.
You will have to reboot for the network settings to take effect.
sudo reboot
Info
You can also refer to the following Debian Wiki Page for advanced network settings.
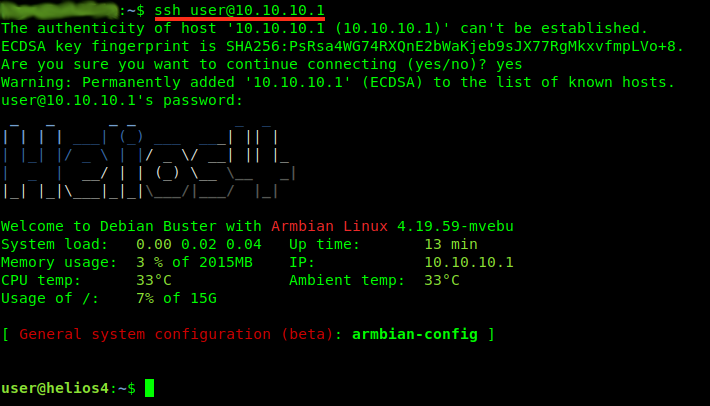
Step 7 - Connect to Helios4 via SSH
You can now connect by SSH to your Helios4 to carry on with your configuration.
What to do next ?
After a fresh install, it's always good to update the system with the latest packages.
sudo apt-get update
sudo apt-get upgrade
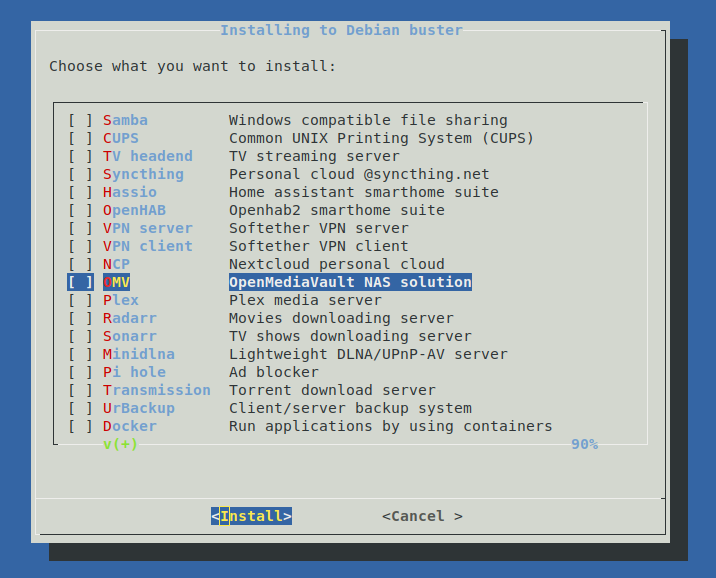
If you want to install OpenMediaVault, the next-gen network attached storage (NAS) software, refer to the OMV page.
If you have assembled an OLED Display as part of your Helios4 setup, it can be the right time to set it up. Refer to the following section that will explain you how to install the sys-oled application which control the OLED display.
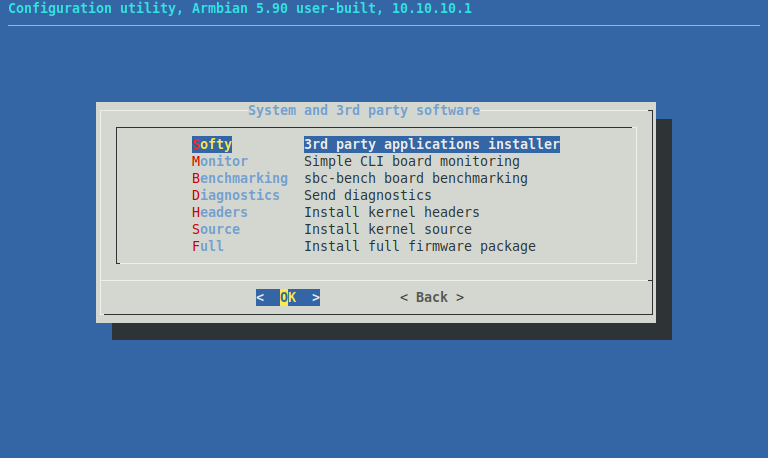
For other software you can use armbian-config which provides an easy way to install 3rd party applications. You can also refer to our Software section to find tutorials that will help you to setup manually your Helios4.
sudo armbian-config